
Give your Christmas presents a little old-school charm with these free printable retro Christmas gift tags. I’ve put together four colourful sheets inspired by different mid-century and vintage design styles, from atomic starbursts to warm 1970s florals.
32 Free Printable Retro Christmas Gift Tags (4 Vintage-Inspired Sets)
Give your Christmas presents a little old-school charm with these free printable retro Christmas gift tags. I’ve put together four colourful sheets inspired by different mid-century and vintage design styles, from atomic starbursts to warm 1970s florals.
There are 32 tags altogether, with eight on each sheet. You can print just your favourite set or mix styles for different presents. Each tag has its decorative design on the front, leaving the back blank for a name or handwritten message.
All four designs are free to download below. No special craft equipment is needed: a printer, some card and a pair of scissors will do.
[INSERT HERO IMAGE: four retro sheets arranged together, or one strong composite]
Download the free printable retro Christmas gift tags
Choose your favourite design below. Each set comes as a one-page A4 PDF.
1. Classic mid-century Christmas gift tags
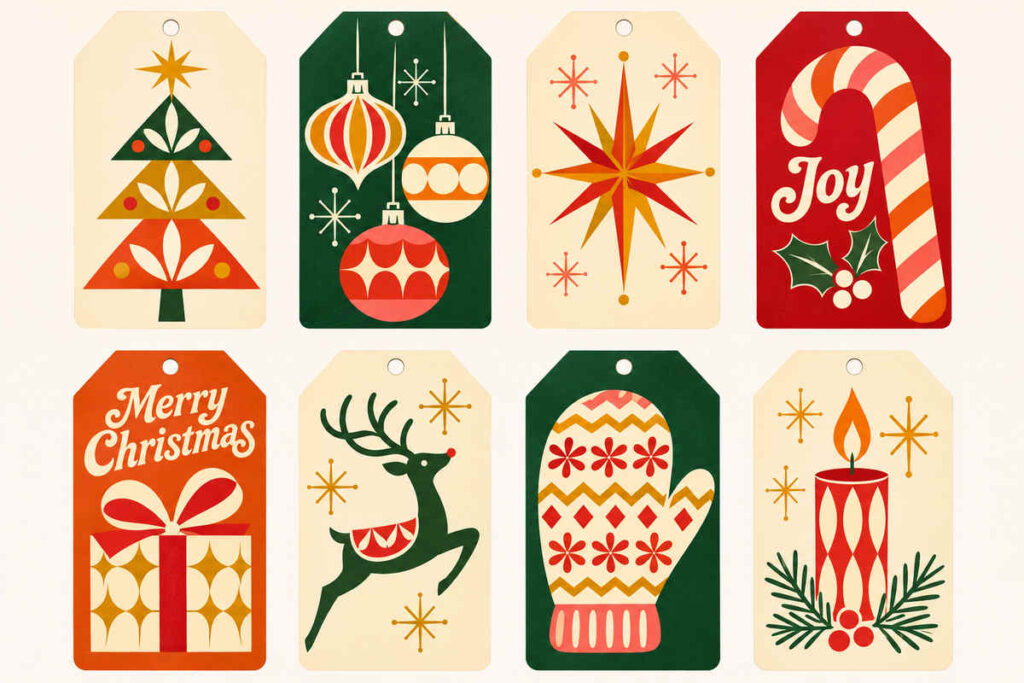
These cheerful designs combine rich red and green with warm mustard, coral and cream. You’ll find a geometric Christmas tree, vintage baubles, a starburst, candy cane, wrapped present, reindeer, mitten and candle.
Download Classic Tags2. Atomic-age Christmas gift tags
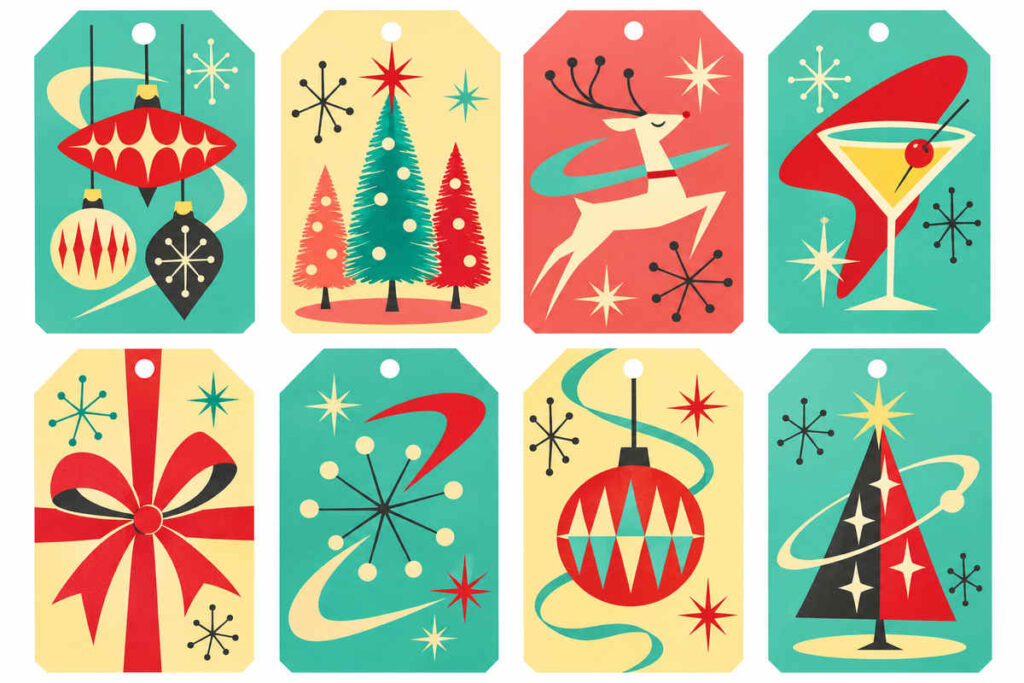
For a brighter 1950s look, this set uses turquoise, coral and pale yellow with playful starbursts, ornaments and sweeping shapes. It’s a fun match for plain red wrapping paper, white paper or silver ribbon.
Download Atomic Tags3. Groovy 1970s Christmas gift tags
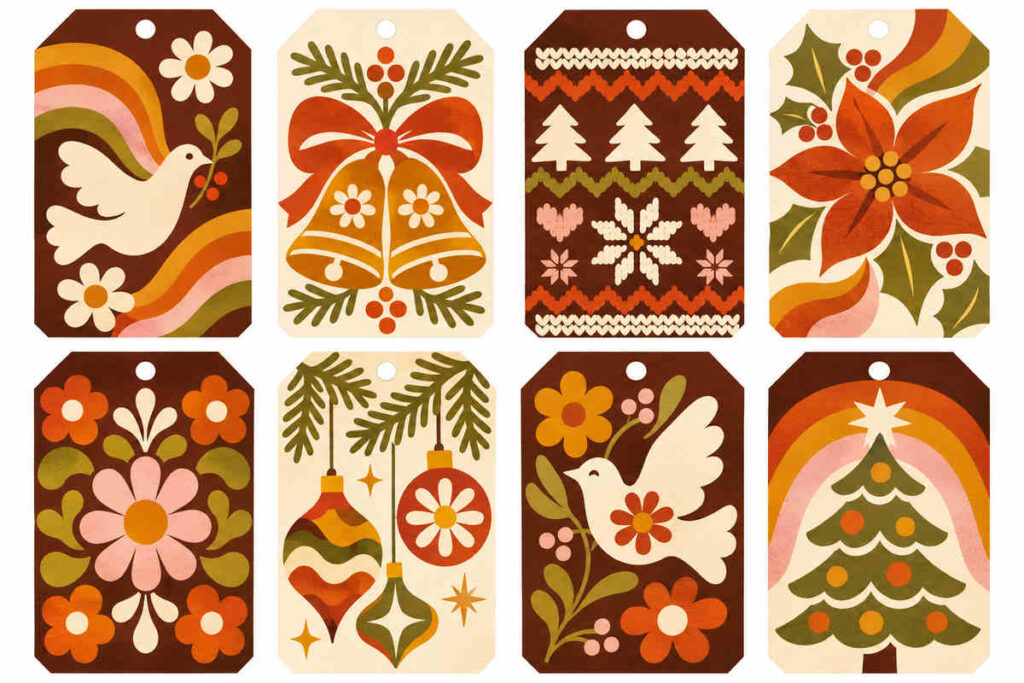
Earthy orange, olive, chocolate brown and pink give these tags a cosy retro feel. The flower motifs, folk-inspired birds and wavy patterns look especially lovely with kraft paper and natural string.
Download Groovy Tags4. Scandinavian retro Christmas gift tags
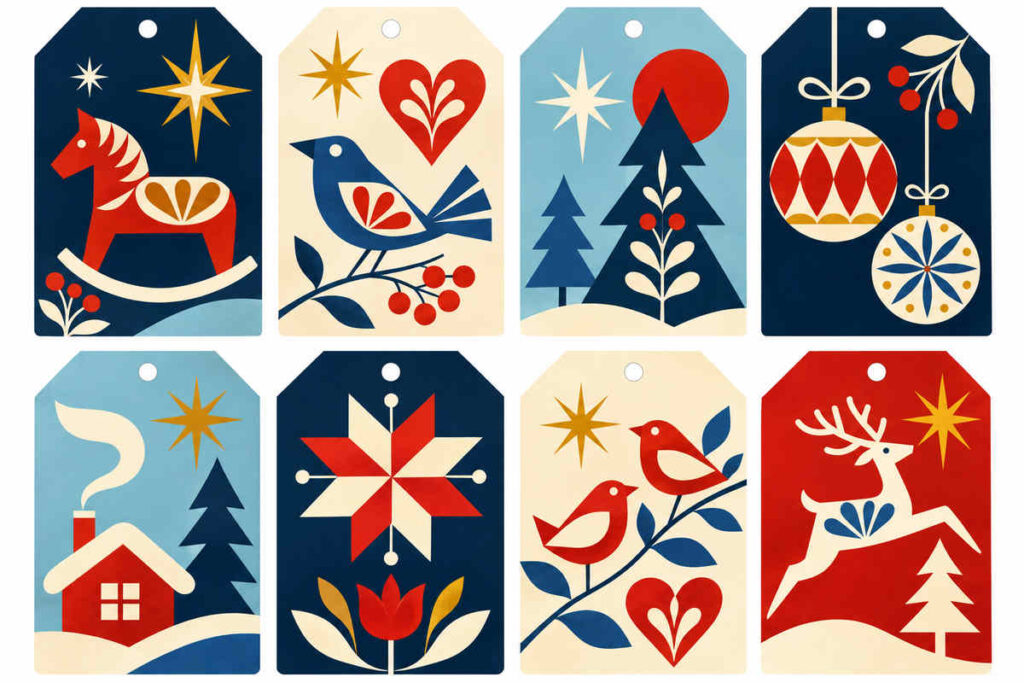
This collection uses simplified folk-style illustrations in navy, red, pale blue and golden yellow. Think graphic birds, festive hearts, trees and stars. These look striking with solid-colour wrapping paper and understated ribbon.
Download Scandi TagsWhat you’ll need
- A home printer (or a local print shop)
- Smooth white matte cardstock around 160 gsm, or 200gsm if your printer supports it
- Scissors, or a craft knife and ruler
- A small hole punch (optional)
- String, ribbon or baker’s twine
- A pen for writing on the blank back
If your printer can’t handle thick card, print onto ordinary paper and glue the sheet to lightweight card before cutting. Let the glue dry fully to prevent curling. You can also have the PDFs printed onto cardstock at a local print shop.
How to print and use the gift tags
- Download the A4 PDF. If you’re printing on US Letter paper, select US Letter as your paper size and choose Fit in the print settings. The tags will print slightly smaller.
- Check your printer’s card limit. If using thicker stock, choose the appropriate paper type or heavy-paper setting from your printer’s options. Cardstock support varies by model, so check its specifications first.
- Print a test page. Start on ordinary paper to check the colour, placement and cut lines. If you’re printing on A4, choose Actual size or 100% and check that all the cut lines are visible in the print preview.
- Print on your chosen card. Use single-sided printing. The back stays completely blank for writing.
- Cut out the tags. Follow the outline of each tag and snip off the small top corners. A craft knife and metal ruler can help with straight edges; use a cutting mat underneath.
- Punch and attach. Punch the small marked circle near the top, thread through twine or ribbon, then write your message on the reverse. If you don’t have a punch, attach the tag with a small piece of decorative tape instead.
A note on colour: The designs use rich festive colours, so matte white card gives the most predictable result. Brown kraft card changes lighter printed colours substantially; if you want that look, try a test print first.
The best card for printable gift tags
Smooth white matte card around 160 gsm is a good starting point for home printing. It’s sturdy enough for gift tags and easy to cut. If your printer supports 200 gsm cardstock in your paper size, try it for a firmer tag. Print one sheet of your chosen card first to check that it feeds cleanly.
Avoid choosing very thick cardstock without checking your printer’s supported media weight and feed path. If the card is too stiff, it can jam or feed unevenly. And if you print on photo paper, remember that many glossy surfaces aren’t pleasant to write on: you’ll be writing on the unprinted back here, so check that side accepts your pen.
Three ways to style your vintage gift tags
- Simple and graphic: Pair the bold atomic-age or Scandinavian tags with plain red, cream or navy wrapping paper.
- Warm and nostalgic: Try the groovy seventies designs with brown kraft paper and natural jute twine.
- Mixed retro Christmas: Combine all four sets on gifts wrapped in plain paper, using the same ribbon colour to bring everything together.
You can also use the tags as place settings for Christmas dinner, labels for homemade treats, or little decorations on jars and gift bags. Just remember to write on the unprinted back before tying them on.
Frequently asked questions
Are these gift tags free to print?
Yes. The four printable sheets are free for personal use. Please link back to this article rather than redistributing the files or selling the designs.
Do I need to print on both sides?
No. Print the artwork on one side only. The reverse is intentionally blank for writing names and messages.
Can I print these on ordinary printer paper?
Yes, although they’ll feel much flimsier than tags made from card. For a sturdier result, stick the printed page onto thin card before cutting.
Why do the colours look different on my printer?
Printers, paper and screens reproduce colours differently. A test page on your intended cardstock is the easiest way to check the result before printing multiple sheets.